Table of Contents
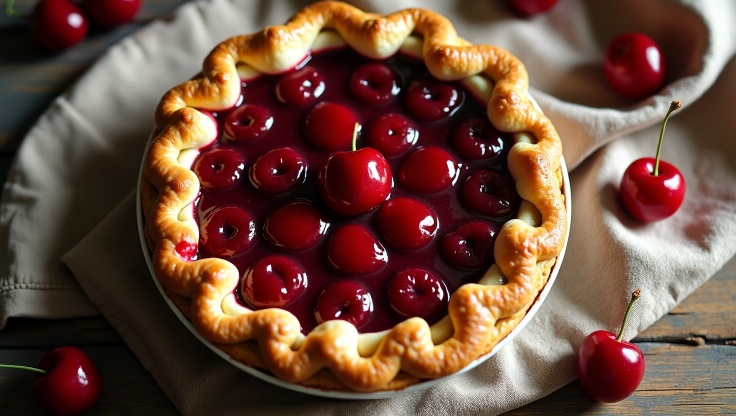
A cherry pie filling recipe made from scratch is the secret to creating a dessert that’s fresher, tastier, and healthier than any store-bought option. There’s nothing quite like the aroma of a freshly baked cherry pie wafting through your home, especially when it’s filled with rich flavors and vibrant colors from real cherries. While canned fillings are convenient, preparing your own allows you to tailor sweetness, texture, and flavor to your taste. In this blog post, you’ll learn how simple it is to make cherry pie filling at home using just a few natural ingredients.
Ingredients for the Perfect Cherry Pie Filling Recipe
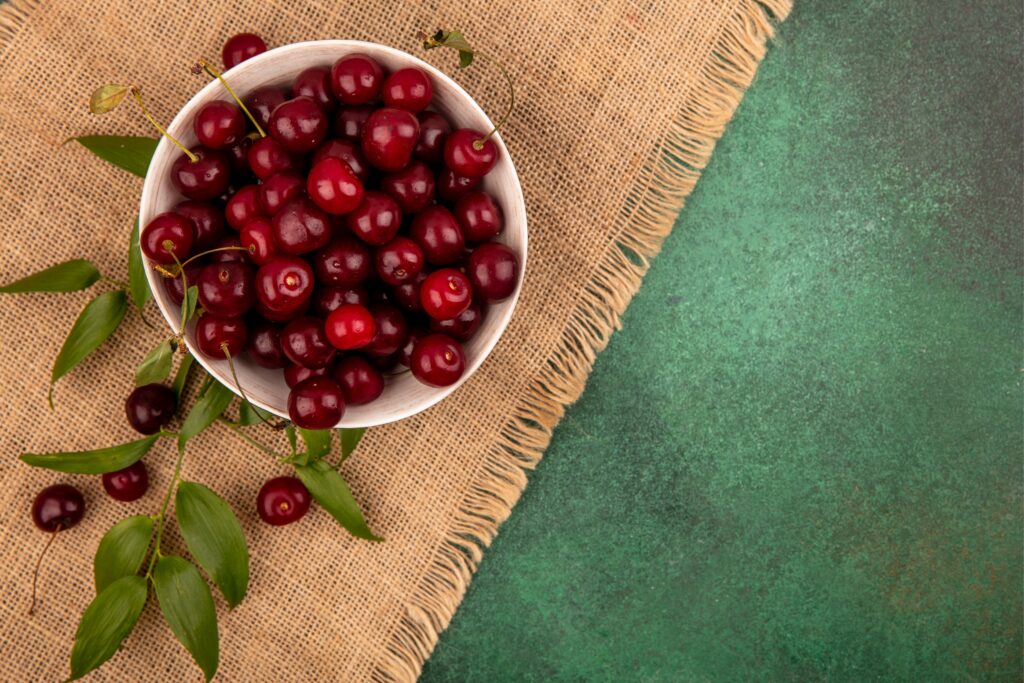
The key to a perfect cherry pie filling lies in selecting the right ingredients. Fresh or frozen cherries are the primary fruit component, infusing the filling with their juicy sweetness. Granulated sugar is essential to balance the natural tartness of the cherries, creating a harmonious flavor profile. Cornstarch serves as a thickening agent, providing the filling with a satisfying and silky texture. A hint of vanilla extract is added to enhance the flavors with its rich, aromatic notes. Finally, a splash of lemon juice brings brightness and a subtle tang, rounding out the mixture beautifully.
The choice of ingredients not only impacts the taste but also the nutritional value of your pie. When selecting cherries, whether fresh or frozen, seek out plump, vibrant ones to maximize flavor. The use of cornstarch as a thickening agent ensures the filling stays luscious without being too runny. By tweaking the quantities of sugar and lemon juice, you can customize the taste to suit your palate.
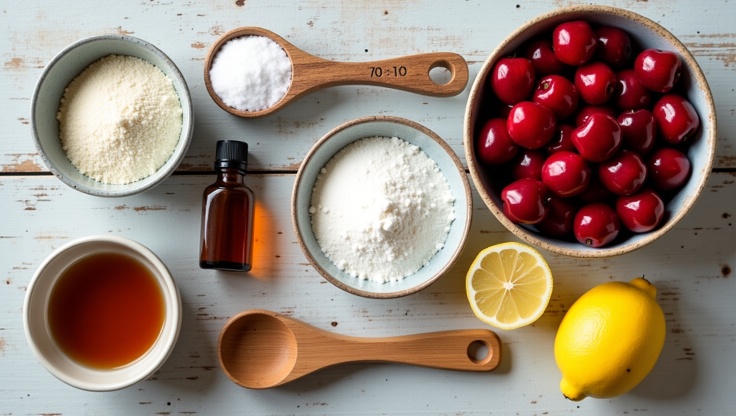
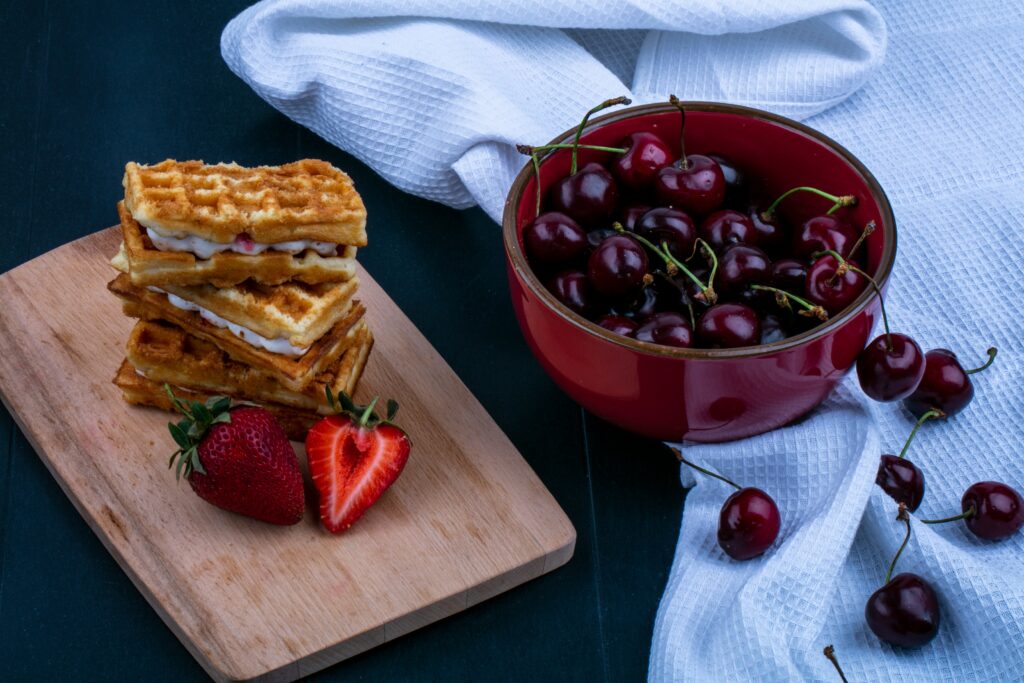
– Cherries: Opt for fresh cherries when they are in season; frozen cherries are a great alternative during off-season.
– Granulated Sugar: Use the amount specified, but adjust according to the sweetness of your cherries.
– Cornstarch: Integral for achieving the perfect consistency; can be adjusted for desired thickness.
– Vanilla Extract: A pure extract enhances flavor depth; alternatively, almond extract can be used for a different profile.
– Lemon Juice: Freshly squeezed is best for a clean, balanced taste that cuts through richness.
Embrace the flexibility of these ingredients in your cherry pie filling to create a dessert that’s truly your own, while mesmerizing your taste buds with each bite.
Step-by-Step Instructions for Your Cherry Pie Filling Recipe
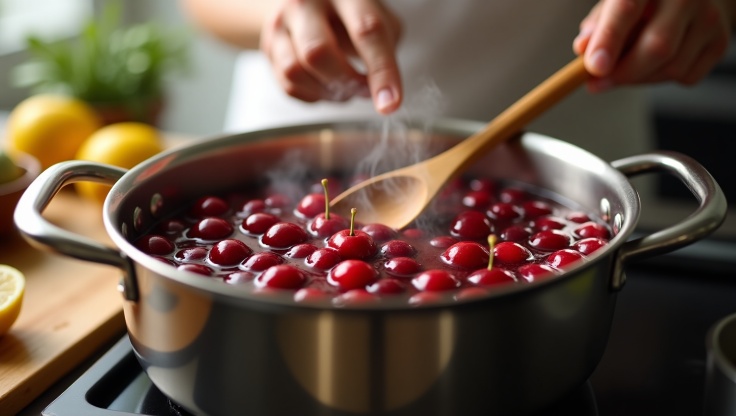
Creating the perfect homemade cherry pie filling starts with the preparation. Begin by thoroughly washing and pitting fresh cherries, ensuring they are ready for the saucepan. It’s a vital step that influences the quality and taste of your final product. Next, combine the cherries with sugar, lemon juice, and cornstarch in a saucepan. This mixture forms the base of your filling and sets the stage for the magic to happen.
The magic happens as you cook the mixture over medium heat, stirring constantly. This constant attention is key to reach the desired consistency—a thick, glossy filling that clings to the back of a spoon. Allow the mixture to cool slightly before using it as a luscious filling for your pie or preserving it in the refrigerator for future culinary adventures. The flexibility of this recipe lets you tweak it to your liking, adjusting sweetness by adding more sugar or thickness with extra cornstarch.
– Step 1: Pit and prepare cherries thoroughly before cooking.
– Step 2: In a saucepan, combine cherries with sugar, lemon juice, and cornstarch.
– Step 3: Cook over medium heat, stirring continuously until the mixture thickens.
– Step 4: Allow to cool slightly prior to using, or store refrigerated for later use.
– Step 5: Adjust sugar and cornstarch to taste for perfect sweetness and thickness.
Enjoy the process of crafting your cherry pie filling, as each step brings you closer to an exceptional homemade dessert that’s worth every bite.
Nutrition Benefits of Your Homemade Cherry Pie Filling Recipe
Using fresh, quality cherries for your pie filling not only enhances its taste but also its nutritional profile. Cherries are packed with antioxidants, especially vitamin C and anthocyanins, which contribute to overall health by reducing inflammation and boosting heart health. This makes your homemade cherry pie not just a treat for the palate but also a nutritious option for dessert lovers.
Mindful of health, it’s advisable to moderate the sugar content in your filling to maintain a good nutritional balance. Paired with a whole grain crust, this pie can offer added fiber and essential nutrients, making it a more wholesome option compared to those with refined ingredients.
– Antioxidants in Cherries: Benefit from their anti-inflammatory properties.
– Vitamin C: Supports immune function and skin health.
– Whole Grain Crust: Adds dietary fiber and enhances nutritional value.
– Moderate Sugar Use: Ensures a sweet, yet balanced dessert.
– Nutritional Balance: Cherish a dessert that complements a healthy lifestyle.
Embrace a filling that not only delights your taste buds but also enriches your body with vital nutrients, ensuring that indulgence and health go hand in hand.
Discover the amazing health benefits of cherries in this comprehensive article.
Savoring the Sweetness of Homemade Cherry Pie Filling Recipe
Crafting your own cherry pie filling is a rewarding endeavor that marries simplicity with flavor complexity, giving you full control over what goes into your dessert. Starting with a base of fresh or frozen cherries and complemented by simple ingredients like sugar, cornstarch, vanilla, and lemon juice, this recipe is as easy as it is delicious. Whether you’re using it immediately for a classic cherry pie or stashing it for future culinary creativity, the freshness and vibrant taste of homemade filling will undeniably elevate your dessert experience. Enjoy the process, take pride in the results, and savor each delicious bite knowing it’s made from scratch.
Check out more similar easy recipes !
How to Store and Freeze Your Cherry Pie Filling Recipe
One of the best things about a homemade cherry pie filling recipe is that you can make it ahead of time and enjoy it whenever you need it. Proper storage not only preserves its rich flavor but also saves you time for future desserts.
-In the Refrigerator: Once cooled, transfer the filling into an airtight container or glass jar. It will stay fresh for up to 5 days in the fridge.
-In the Freezer: For longer storage, place the filling in freezer-safe bags or containers. Be sure to leave some space for expansion. Frozen cherry pie filling can last up to 6 months without losing flavor or texture.
-Defrosting Tips: When ready to use, thaw it overnight in the refrigerator. If the filling seems too thin after thawing, simply reheat it on the stove with a teaspoon of cornstarch mixed in water to restore thickness.
This flexibility makes homemade cherry pie filling not only delicious but also incredibly convenient. Whether you’re preparing for the holiday season or simply want to have a ready-to-use topping on hand, storing and freezing ensures you’ll always have a taste of summer cherries available.
Check out more tasty sweets recipes here !